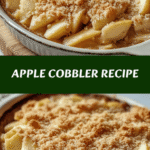
There’s something about a warm, bubbling apple cobbler that instantly feels like home. This Apple Cobbler Recipe is one of those timeless desserts that brings back memories of cozy afternoons in my mom’s kitchen, where the smell of cinnamon and baked apples would wrap around us like a soft blanket. Over the years, I’ve learned how to make this classic dessert simple enough for busy weeknights but special enough to share on weekends with family. Whether you’re new to baking or looking for a comforting treat, this recipe is here to fill your kitchen with warmth and your heart with joy.
Table of Contents
Why You’ll Love This Apple Cobbler Recipe
This apple cobbler recipe is special because it strikes the perfect balance between sweet, tart apples and a tender, buttery topping that crisps just right. I love how it’s forgiving — even if you’re juggling kids and a busy schedule like me, it comes together without fuss. Plus, it’s incredibly versatile; you can swap in different apples or tweak the spices to suit your family’s tastes. Every time I serve this dessert, I see my kids light up, and those moments of sharing it together remind me why I started cooking in the first place.
Ingredients You’ll Need for This Apple Cobbler Recipe
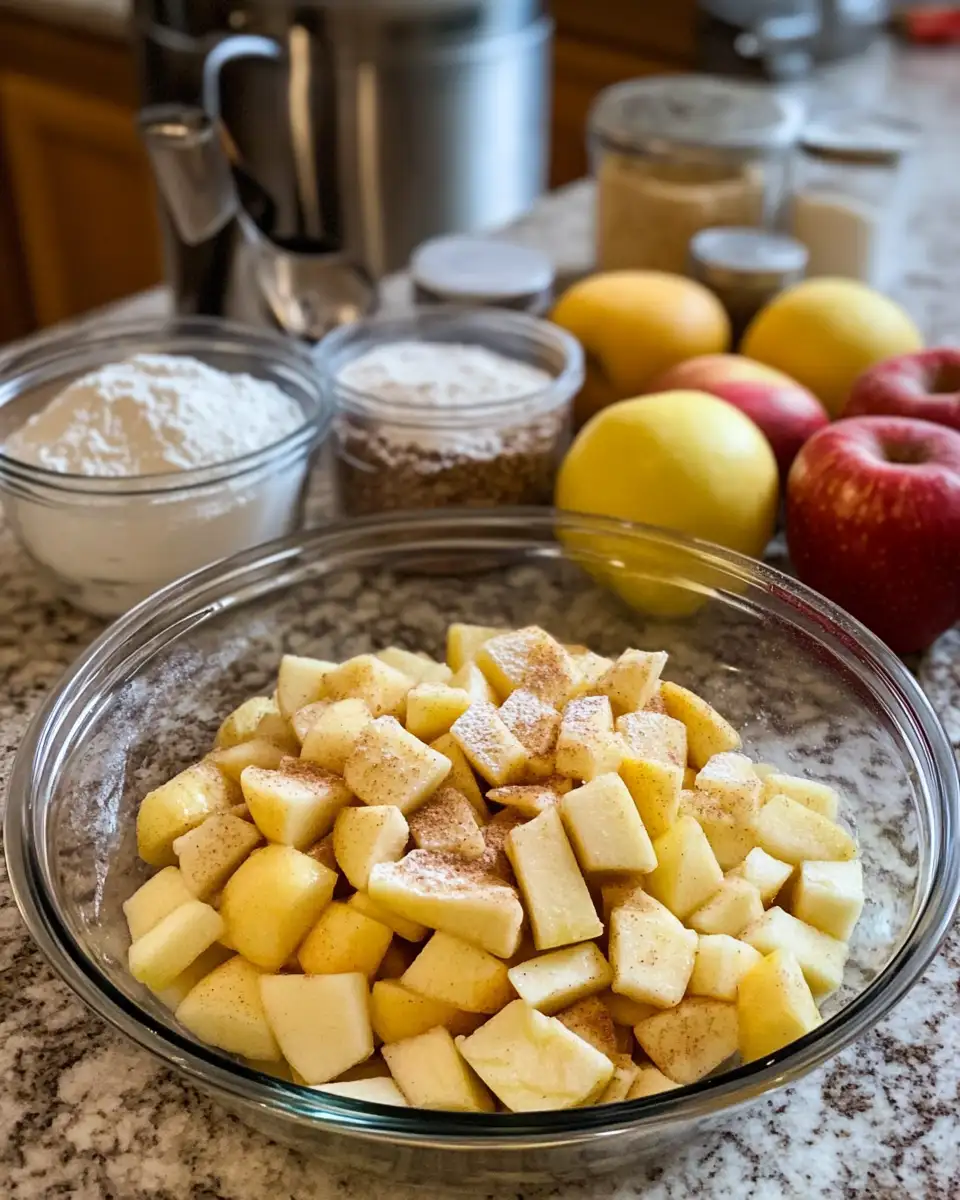
The key to this dish lies in selecting the right ingredients — fresh, crisp apples and high-quality butter make all the difference. I always reach for apples that hold up well in baking, like Granny Smith or Honeycrisp, because they keep their texture and bright flavor. When it comes to spices, I keep it simple with cinnamon and just a pinch of nutmeg to evoke that cozy, nostalgic feeling. And don’t shy away from using real butter; it adds richness that no substitute can quite match.
- 6 cups peeled, sliced apples (Granny Smith or Honeycrisp work best)
- 3/4 cup granulated sugar
- 1/4 cup brown sugar, packed
- 1 tablespoon lemon juice
- 1 teaspoon ground cinnamon
- 1/4 teaspoon ground nutmeg
- 1/4 teaspoon salt
- 1 cup all-purpose flour
- 1 cup granulated sugar (for topping)
- 1 teaspoon baking powder
- 1/2 cup unsalted butter, cold and cubed
- 1/4 cup whole milk
If you’d like a gluten-free version, try swapping the flour for a 1:1 gluten-free baking blend. For a dairy-free option, coconut oil can replace the butter, though the flavor will shift slightly.
Nutrition Facts
- Calories: Approximately 350 per serving
- Protein: 2g
- Fat: 12g
- Carbohydrates: 55g
- Fiber: 4g
- Sugar: 35g
- Sodium: 180mg
Irresistible Apple Cobbler Recipe That Will Warm Your Soul
Learn how to make delicious Apple Cobbler Recipe. Easy recipe with step-by-step instructions.
- Total Time: 45 minutes
- Yield: 4 servings 1x
Ingredients
The key to this dish lies in selecting the right ingredients — fresh, crisp apples and high-quality butter make all the difference. I always reach for apples that hold up well in baking, like Granny Smith or Honeycrisp, because they keep their texture and bright flavor. When it comes to spices, I keep it simple with cinnamon and just a pinch of nutmeg to evoke that cozy, nostalgic feeling. And don’t shy away from using real butter; it adds richness that no substitute can quite match.
- 6 cups peeled, sliced apples (Granny Smith or Honeycrisp work best)
- 3/4 cup granulated sugar
- 1/4 cup brown sugar, packed
- 1 tablespoon lemon juice
- 1 teaspoon ground cinnamon
- 1/4 teaspoon ground nutmeg
- 1/4 teaspoon salt
- 1 cup all-purpose flour
- 1 cup granulated sugar (for topping)
- 1 teaspoon baking powder
- 1/2 cup unsalted butter, cold and cubed
- 1/4 cup whole milk
If you’d like a gluten-free version, try swapping the flour for a 1:1 gluten-free baking blend. For a dairy-free option, coconut oil can replace the butter, though the flavor will shift slightly.
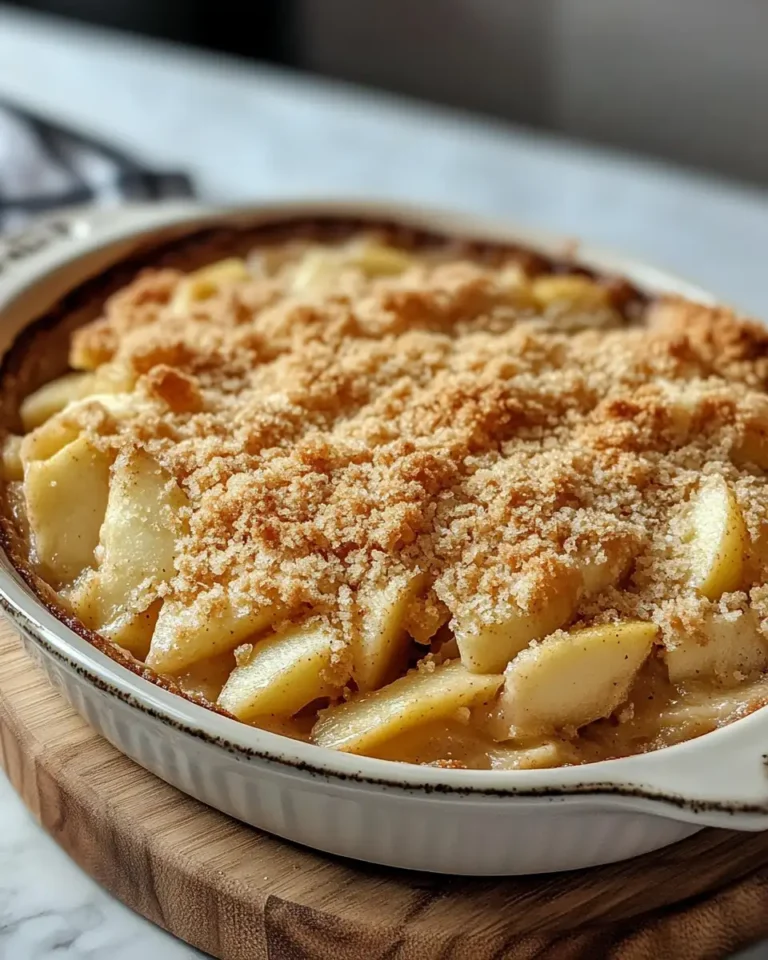
Instructions
- Preheat your oven to 375°F. Lightly grease a 9×13-inch baking dish to prevent sticking.
- In a large mixing bowl, toss the sliced apples with lemon juice, granulated sugar, brown sugar, cinnamon, nutmeg, and salt until well combined. The lemon juice helps the apples maintain their color and adds a subtle tang.
- Transfer the apple mixture evenly into the prepared baking dish, spreading it out in an even layer.
- In a separate bowl, whisk together the flour, sugar, and baking powder.
- Cut the cold butter into the flour mixture using a pastry cutter or your fingers until it resembles coarse crumbs. This step creates the tender, flaky topping that contrasts beautifully with the soft apples.
- Stir in the milk just until the mixture comes together into a thick batter. Avoid overmixing to keep the topping light.
- Drop spoonfuls of the batter evenly over the apples, leaving some gaps so the fruit can peek through and the topping crisps up nicely.
- Bake for 40-45 minutes, or until the topping is golden brown and the apple filling is bubbling around the edges.
- Remove from the oven and let it cool for at least 15 minutes before serving. This resting time helps the juices thicken slightly, making every bite perfectly luscious.
- Prep Time: 15 minutes
- Cook Time: 30 minutes
- Category: Main Dish
- Method: Cooking
- Cuisine: International
Keywords: Apple Cobbler Recipe, recipe, cooking, food
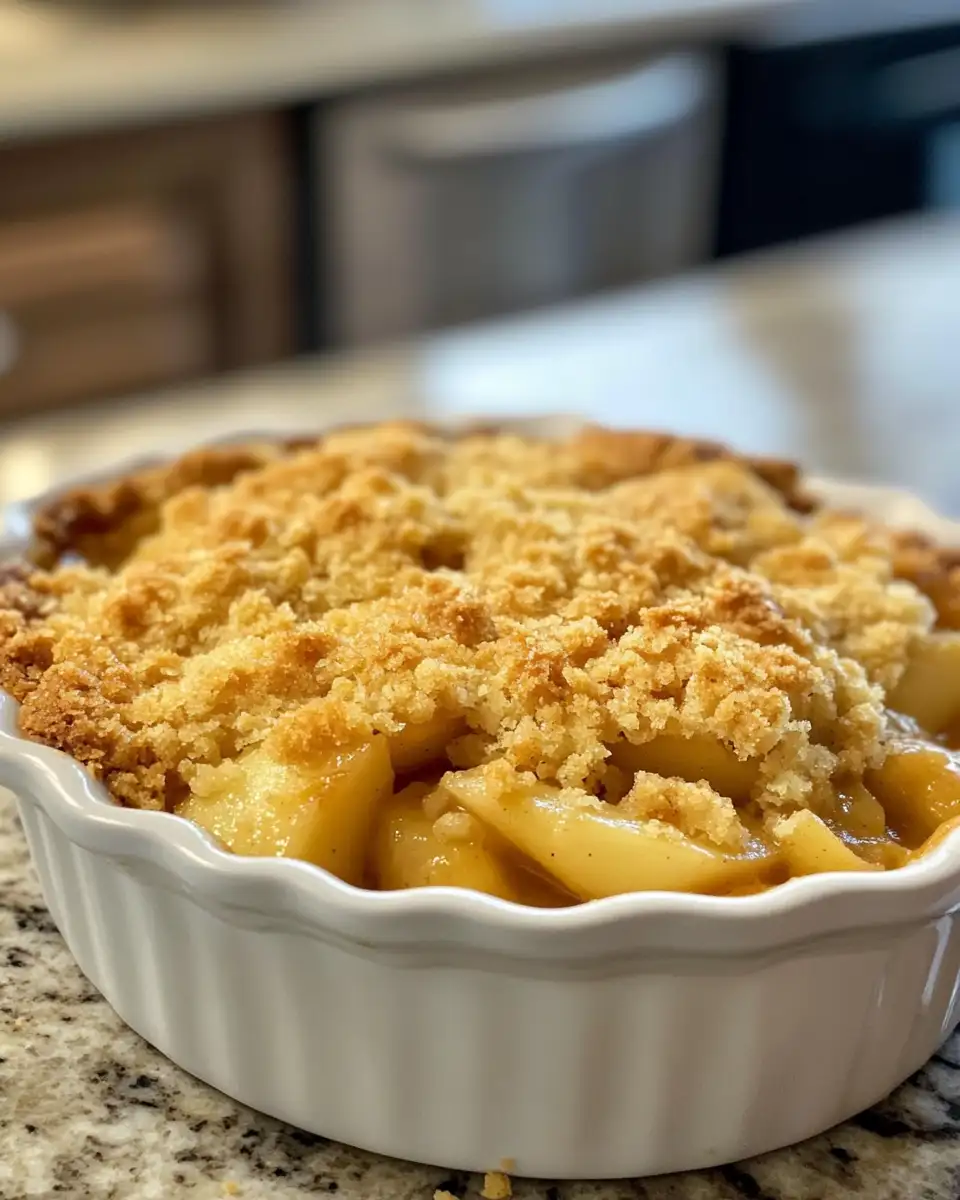
Steps to Create Your Apple Cobbler Recipe
- Preheat your oven to 375°F. Lightly grease a 9×13-inch baking dish to prevent sticking.
- In a large mixing bowl, toss the sliced apples with lemon juice, granulated sugar, brown sugar, cinnamon, nutmeg, and salt until well combined. The lemon juice helps the apples maintain their color and adds a subtle tang.
- Transfer the apple mixture evenly into the prepared baking dish, spreading it out in an even layer.
- In a separate bowl, whisk together the flour, sugar, and baking powder.
- Cut the cold butter into the flour mixture using a pastry cutter or your fingers until it resembles coarse crumbs. This step creates the tender, flaky topping that contrasts beautifully with the soft apples.
- Stir in the milk just until the mixture comes together into a thick batter. Avoid overmixing to keep the topping light.
- Drop spoonfuls of the batter evenly over the apples, leaving some gaps so the fruit can peek through and the topping crisps up nicely.
- Bake for 40-45 minutes, or until the topping is golden brown and the apple filling is bubbling around the edges.
- Remove from the oven and let it cool for at least 15 minutes before serving. This resting time helps the juices thicken slightly, making every bite perfectly luscious.
Tips for Making the Best Apple Cobbler Recipe
Getting this apple cobbler just right is all about technique and a few thoughtful touches. Over the years, I’ve learned that even small changes can make a big difference in flavor and texture, especially when balancing busy family life with my love of cooking.
- Use a mix of tart and sweet apples to add depth — Granny Smiths for tartness and Honeycrisp for sweetness work beautifully together.
- Keep your butter cold when mixing the topping; this helps create a flaky, biscuit-like texture instead of a dense crust.
- Don’t overmix the topping batter — a gentle hand keeps it tender and light.
- Allow the cobbler to cool before serving so the filling thickens; I know it’s tempting to dig in right away, but the wait is worth it!
- If you like a bit of crunch, sprinkle a handful of chopped nuts or oats over the topping before baking.
With these tips, you’ll create a cobbler that feels like a warm hug on a plate. Learn more: Irresistible No Bake Biscoff Cheesecake
Serving Suggestions and Pairings
This apple cobbler is a true crowd-pleaser that fits beautifully into many occasions. Whether it’s a casual family dessert or a special holiday treat, the presentation and pairing can elevate it even more.
- Serve warm with a generous scoop of vanilla ice cream or a dollop of freshly whipped cream for a classic combo.
- Try pairing it with a cup of strong coffee or a spiced chai tea to complement the cinnamon notes.
- For a grown-up twist, drizzle with a little caramel sauce or a splash of bourbon before serving.
- In the fall, add a sprinkle of toasted pecans or walnuts on top for extra texture and flavor.
I often make this cobbler for weekend family dinners, and it always sparks conversation and smiles. Sharing it with Emma and Noah feels like passing on a bit of the warmth I grew up with, and I hope you find the same joy in your kitchen.
Storage and Reheating Tips
Proper storage is key to keeping your apple cobbler tasting fresh and just as delicious the next day—or even a few days later. I like to make cobblers ahead of time when the schedule gets hectic.
- Store leftovers in an airtight container in the refrigerator for up to 3 days.
- To reheat, warm individual portions in the microwave for about 1-2 minutes, or until heated through.
- If reheating a larger portion, cover loosely with foil and bake at 350°F for 15-20 minutes to restore the crispy topping.
- You can also freeze the cobbler before baking: cover tightly with foil and freeze for up to 2 months. Bake from frozen, adding extra time.
Frequently Asked Questions
What are the main ingredients for Apple Cobbler Recipe?
The main ingredients for Apple Cobbler Recipe include the items listed in our ingredients section above. Each ingredient plays a crucial role in achieving the perfect flavor and texture.
How long does it take to make Apple Cobbler Recipe?
The total time to make Apple Cobbler Recipe includes both preparation and cooking time. Check the recipe card above for exact timing details.
Can I make Apple Cobbler Recipe ahead of time?
Yes, Apple Cobbler Recipe can often be prepared in advance. Store it properly in an airtight container in the refrigerator and consume within the recommended timeframe.
What can I serve with Apple Cobbler Recipe?
Apple Cobbler Recipe pairs well with various sides and accompaniments. Consider the serving suggestions mentioned in the recipe for the best dining experience.
Is Apple Cobbler Recipe suitable for special diets?
Depending on the ingredients used, Apple Cobbler Recipe may be adapted for various dietary needs. Check the ingredients list and consider substitutions as needed for your dietary requirements.
Final Thoughts
This apple cobbler recipe is one of those simple yet soul-satisfying desserts that I’m so happy to share with you. It’s perfect for busy families who want to create moments of comfort and connection without spending hours in the kitchen. I’d love to hear how it turns out for you and any twists you try. Happy baking, and here’s to many cozy, delicious memories around your table!