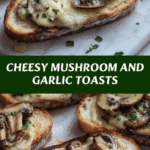
There’s something truly comforting about Cheesy Mushroom and Garlic Toasts, isn’t there? For me, these toasts are more than just a quick snack — they’re a little moment of joy in the chaos of everyday life. I often find myself whipping them up on busy afternoons when Emma and Noah are playing nearby, their laughter filling the kitchen as the irresistible aroma of garlic and melted cheese wraps around us. This recipe brings together simple, fresh ingredients to create a cozy, flavorful bite that feels like a warm hug. If you’re looking for an easy way to impress your family or just treat yourself, these toasts might just become your new favorite.
Table of Contents
Why You’ll Love This Cheesy Mushroom and Garlic Toasts
What makes these Cheesy Mushroom and Garlic Toasts stand out is their perfect balance of rich, savory flavors and quick preparation — a real lifesaver on busy days. The mushrooms add an earthy depth that pairs beautifully with the creamy, melted cheese, while the garlic brings that classic, comforting aroma I grew up loving in my mom’s kitchen. Plus, they’re incredibly versatile, making them great for a light lunch, a snack, or even a side for dinner. I love how these toasts bring my family together effortlessly, reminding me of those kitchen moments with my own mom, sharing stories and laughter.
Ingredients You’ll Need for This Cheesy Mushroom and Garlic Toasts
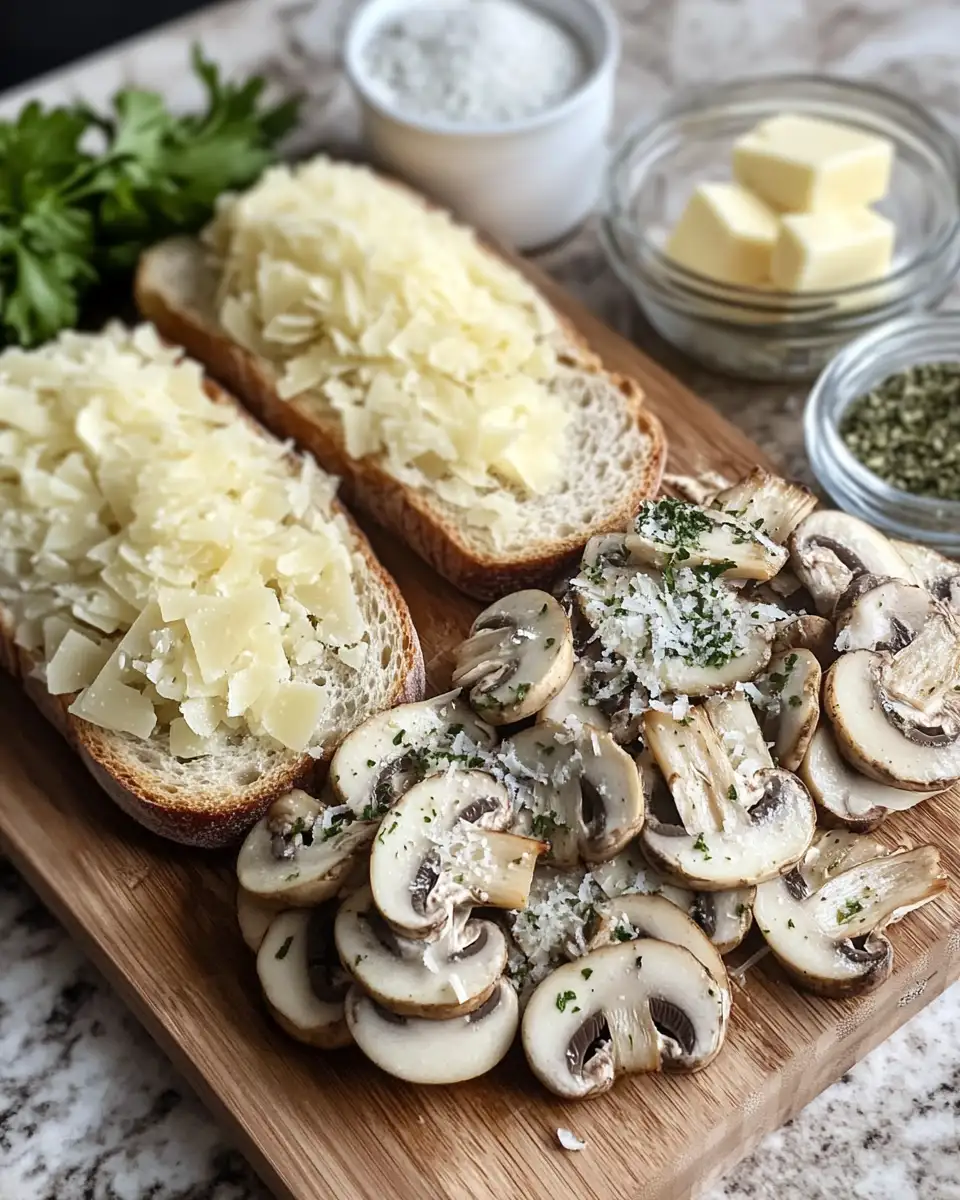
The key to this dish lies in selecting the right ingredients — fresh, wholesome, and full of flavor. Over the years, I’ve learned that quality mushrooms make all the difference, and using freshly grated cheese elevates the whole experience. When it comes to garlic, I always prefer fresh cloves over pre-minced — the flavor is simply unbeatable. Bread choice matters too; a sturdy, rustic loaf holds up perfectly to the toppings and toasting without getting soggy.
- 1 baguette or rustic bread loaf, sliced about 1/2 inch thick
- 2 cups sliced cremini or button mushrooms
- 3 cloves garlic, minced
- 1 cup shredded mozzarella cheese
- 1/2 cup grated Parmesan cheese
- 2 tablespoons unsalted butter
- 1 tablespoon olive oil
- 1 teaspoon fresh thyme leaves or 1/2 teaspoon dried thyme
- Salt and freshly ground black pepper, to taste
- Optional: chopped fresh parsley for garnish
If you’re short on mozzarella, feel free to substitute with provolone or fontina for a different but equally melty texture. For a dairy-free version, try a plant-based cheese and swap butter for olive oil.
Nutrition Facts
- Calories: Approximately 280 per serving (2 toasts)
- Protein: 12g
- Fat: 18g
- Carbohydrates: 20g
- Fiber: 2g
- Sugar: 2g
- Sodium: 450mg

Irresistible Cheesy Mushroom and Garlic Toasts You Need to Try
Learn how to make delicious Cheesy Mushroom and Garlic Toasts. Easy recipe with step-by-step instructions.
- Total Time: 45 minutes
- Yield: 4 servings 1x
Ingredients
The key to this dish lies in selecting the right ingredients — fresh, wholesome, and full of flavor. Over the years, I’ve learned that quality mushrooms make all the difference, and using freshly grated cheese elevates the whole experience. When it comes to garlic, I always prefer fresh cloves over pre-minced — the flavor is simply unbeatable. Bread choice matters too; a sturdy, rustic loaf holds up perfectly to the toppings and toasting without getting soggy.
- 1 baguette or rustic bread loaf, sliced about 1/2 inch thick
- 2 cups sliced cremini or button mushrooms
- 3 cloves garlic, minced
- 1 cup shredded mozzarella cheese
- 1/2 cup grated Parmesan cheese
- 2 tablespoons unsalted butter
- 1 tablespoon olive oil
- 1 teaspoon fresh thyme leaves or 1/2 teaspoon dried thyme
- Salt and freshly ground black pepper, to taste
- Optional: chopped fresh parsley for garnish
If you’re short on mozzarella, feel free to substitute with provolone or fontina for a different but equally melty texture. For a dairy-free version, try a plant-based cheese and swap butter for olive oil.
Instructions
- Preheat your oven to 375°F (190°C). Line a baking sheet with parchment paper for easy cleanup.
- Heat olive oil and butter in a large skillet over medium heat. Once melted, add the minced garlic and sauté for about 1 minute until fragrant — be careful not to burn it.
- Add the sliced mushrooms and thyme to the skillet. Cook, stirring occasionally, for 5-7 minutes until the mushrooms are golden and tender. Season with salt and pepper to taste.
- Arrange the bread slices on the prepared baking sheet. Spoon the mushroom mixture evenly over each slice.
- Sprinkle shredded mozzarella and grated Parmesan generously on top of the mushrooms.
- Bake in the preheated oven for 8-10 minutes, or until the cheese is melted and bubbly with slightly golden edges.
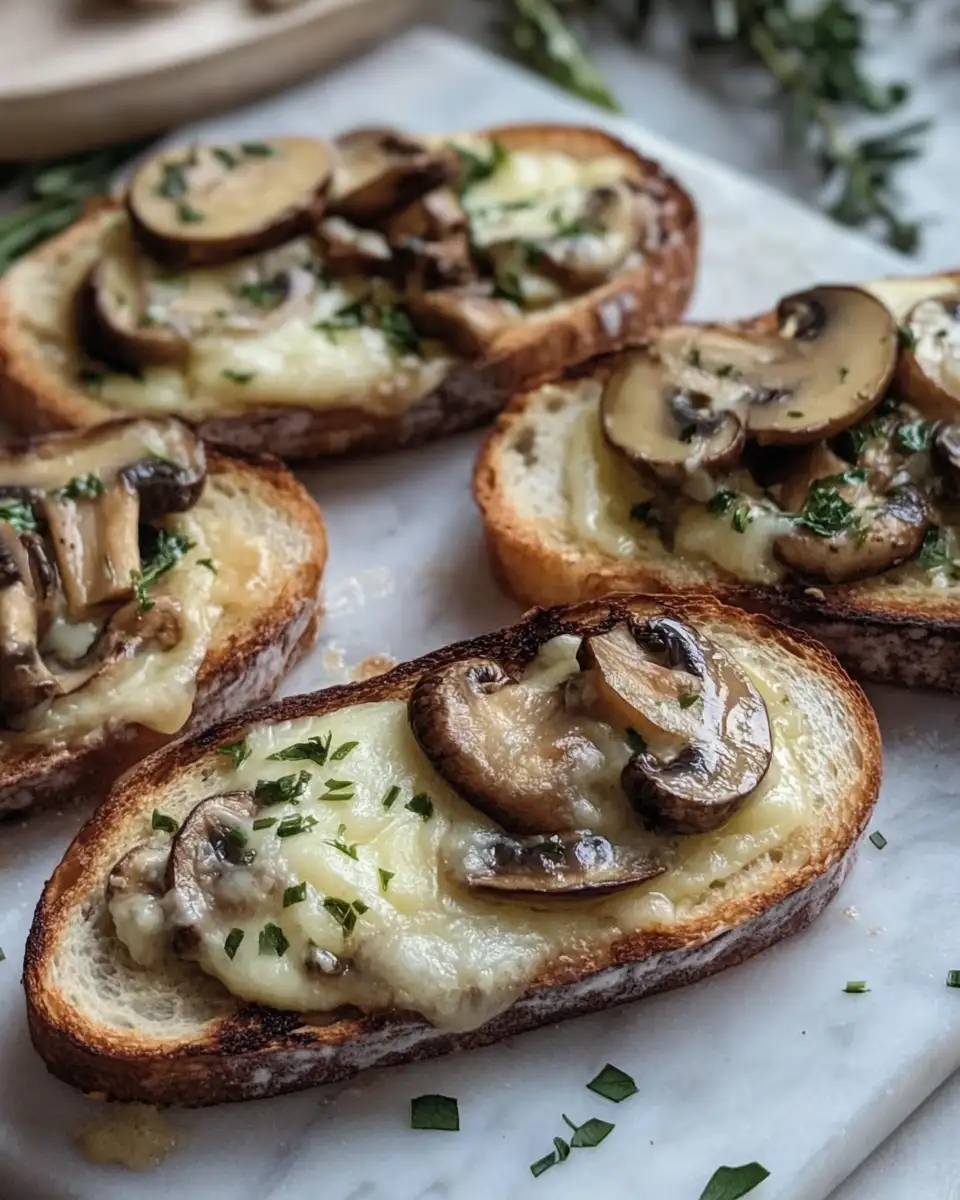
- Remove from oven and let cool for a minute or two. Garnish with chopped parsley if desired, then serve warm.
Tip from my kitchen: If you have a broiler, pop the toasts under it for the last 1-2 minutes to get an extra crispy, golden top — just watch carefully so they don’t burn!
- Prep Time: 15 minutes
- Cook Time: 30 minutes
- Category: Main Dish
- Method: Cooking
- Cuisine: International
Keywords: Cheesy Mushroom and Garlic Toasts, recipe, cooking, food
Steps to Create Your Cheesy Mushroom and Garlic Toasts
- Preheat your oven to 375°F (190°C). Line a baking sheet with parchment paper for easy cleanup.
- Heat olive oil and butter in a large skillet over medium heat. Once melted, add the minced garlic and sauté for about 1 minute until fragrant — be careful not to burn it.
- Add the sliced mushrooms and thyme to the skillet. Cook, stirring occasionally, for 5-7 minutes until the mushrooms are golden and tender. Season with salt and pepper to taste.
- Arrange the bread slices on the prepared baking sheet. Spoon the mushroom mixture evenly over each slice.
- Sprinkle shredded mozzarella and grated Parmesan generously on top of the mushrooms.
- Bake in the preheated oven for 8-10 minutes, or until the cheese is melted and bubbly with slightly golden edges.
- Remove from oven and let cool for a minute or two. Garnish with chopped parsley if desired, then serve warm.
Tip from my kitchen: If you have a broiler, pop the toasts under it for the last 1-2 minutes to get an extra crispy, golden top — just watch carefully so they don’t burn!
Tips for Making the Best Cheesy Mushroom and Garlic Toasts
Getting these toasts just right is all about balance and technique. I’ve found that a few simple tweaks can truly elevate the dish, making it a family favorite every time.
- Use fresh, firm mushrooms; they hold their texture better and have a richer flavor.
- Don’t rush the mushroom sauté — letting them caramelize slowly brings out their natural sweetness.
- Toast the bread lightly before adding toppings to prevent sogginess and add crunch.
- Fresh garlic is key. Minced fresh garlic offers a brighter, more vibrant taste than pre-packaged versions.
- Experiment with herbs like thyme or rosemary to add a subtle aromatic note.
- For an extra flavor boost, add a splash of white wine or a squeeze of lemon juice to the mushrooms while cooking.
With these tips, you’ll create a restaurant-quality bite right in your own kitchen. Learn more: Irresistible Peach Pie Cruffins You Need to Try Today
Serving Suggestions and Pairings
Cheesy Mushroom and Garlic Toasts are incredibly versatile and perfect for many occasions. Whether it’s a cozy afternoon snack with your kids or a quick appetizer when friends drop by, these toasts always hit the spot. I love serving them alongside a fresh salad or a bowl of homemade soup, especially on chilly evenings when we want something warm and satisfying.
- Pair with a crisp white wine like Sauvignon Blanc or a sparkling water with lemon for a refreshing contrast.
- Serve alongside a mixed green salad with a light vinaigrette to brighten the meal.
- Use as a savory breakfast toast topped with a poached egg for an indulgent start to the day.
- Top with a handful of arugula or baby spinach for a peppery bite and extra nutrients.
For me, these toasts bring the family together, whether it’s a weekend brunch or a simple dinner. They’re a small but meaningful way to connect over good food and great company.
Storage and Reheating Tips
Proper storage means you can enjoy these toasts even the next day without losing that fresh, cheesy goodness. I often make a batch ahead for busy evenings or unexpected guests.
- Store leftovers in an airtight container in the refrigerator for up to 2 days.
- When reheating, place the toasts on a baking sheet and warm them in a 350°F (175°C) oven for about 8 minutes to restore crispness.
- A quick broil for 1-2 minutes at the end of reheating can bring back the golden, bubbly cheese topping.
Avoid microwaving if possible, as it tends to make the bread soggy and the cheese rubbery. Trust me, the oven method keeps the toasts tasting fresh and delightful.
Frequently Asked Questions
What are the main ingredients for Cheesy Mushroom and Garlic Toasts?
The main ingredients for Cheesy Mushroom and Garlic Toasts include the items listed in our ingredients section above. Each ingredient plays a crucial role in achieving the perfect flavor and texture.
How long does it take to make Cheesy Mushroom and Garlic Toasts?
The total time to make Cheesy Mushroom and Garlic Toasts includes both preparation and cooking time. Check the recipe card above for exact timing details.
Can I make Cheesy Mushroom and Garlic Toasts ahead of time?
Yes, Cheesy Mushroom and Garlic Toasts can often be prepared in advance. Store it properly in an airtight container in the refrigerator and consume within the recommended timeframe.
What can I serve with Cheesy Mushroom and Garlic Toasts?
Cheesy Mushroom and Garlic Toasts pairs well with various sides and accompaniments. Consider the serving suggestions mentioned in the recipe for the best dining experience.
Is Cheesy Mushroom and Garlic Toasts suitable for special diets?
Depending on the ingredients used, Cheesy Mushroom and Garlic Toasts may be adapted for various dietary needs. Check the ingredients list and consider substitutions as needed for your dietary requirements.
Final Thoughts
Cheesy Mushroom and Garlic Toasts are a simple pleasure that adds warmth and comfort to any day. I hope this recipe inspires you to slow down, savor the moment, and create delicious memories with your loved ones. If you give it a try, I’d love to hear how it turns out — sharing food stories is what makes this journey so special!